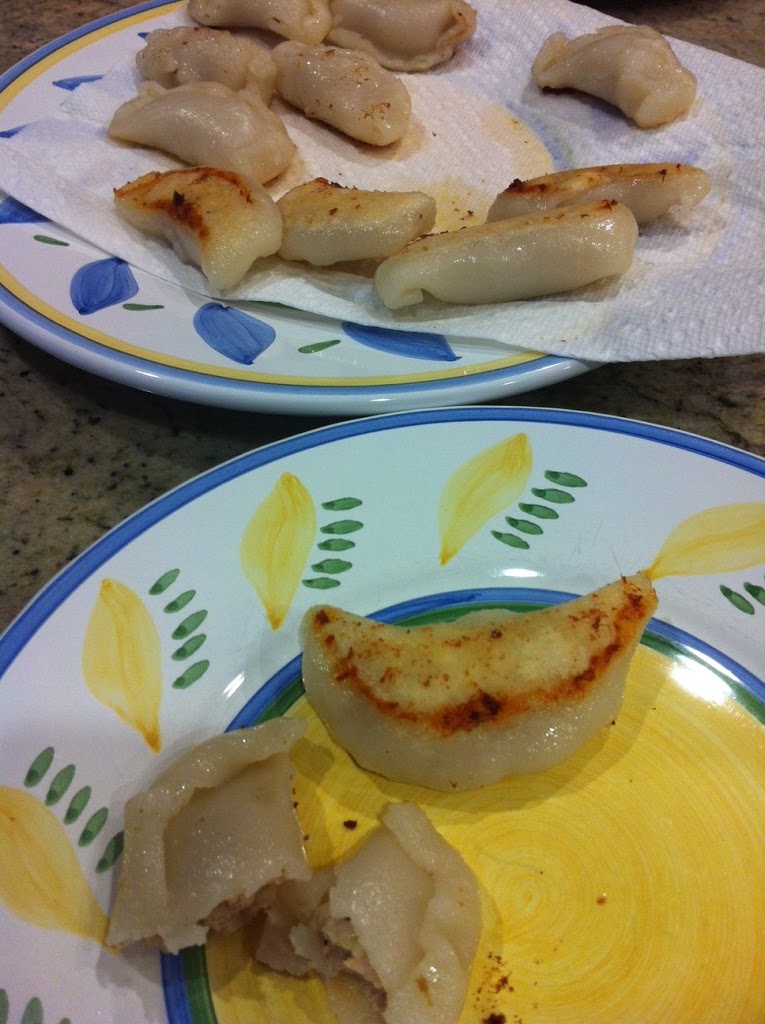
I just want you to know that I don’t know and don’t claim to know how to cook everything. Some things I’m not interested in and some things…well, intimidate even me. I suppose the biggest factor in trying something new is giving myself enough time to fiddle with it and being able to live if it’s not 100% successful. On this day, I decided I needed a gluten-free Asian pot sticker recipe.
I’ve come to know Jeff Larsen who also teaches gluten-free cooking classes in the SF bay area. There are some things we do which are very similar and some things we do differently. Either way, there’s a language we both speak and it’s been a pleasure getting to know him. I mention him because he teaches a number of classes around Asian cooking, specifically dumplings. I have had a very good gluten-free pot sticker from Feel Good Foods but there’s nothing like making your own, something I could almost do in my sleep pre-gluten-free lifestyle. Since I couldn’t go to his class today, I decided on a whim to just try them.
I consulted a few recipes, texted him a few times and came up with this. The dough is a combination of a few recipes but was workable. I particularly like the filling which I created on my own. A very long time ago, I took a Chinese cooking class. I still remember what I learned about making wontons, including stirring in one direction and then the other. This helps to bind the meat so it stays together.
I promised some Facebook fans that I would post this recipe so I’d better get on with it. I would highly suggest looking at the photos taken by Crysty of Garden of Gluten-Free. That was my starting point.
I would have taken more pics but my hands were messy. After they were cooked, my kids basically devoured about half of them, including the extra meat which I had used to make into mini meatballs. I ate mine with San-J gluten-free low-sodium tamari soy sauce with a few drops of chili oil; for soy-free, use coconut aminos. Yes, I was in heaven!
Give yourself at least an hour or more to make this dish. It would be much quicker with two people so find a friend. You can fill it with whatever you’d like; this was my vision (that day). Please let me know if the recipe works for you.
Gluten-free Asian Pot Stickers
Makes 24-26 pot stickers
FILLING
1 pound ground chicken, turkey or pork
1 tablespoon sesame oil
2 scallions, diced
Salt and pepper
2 garlic cloves, minced
1 teaspoon minced fresh ginger
WRAPPERS
1 cup sweet rice flour
1/2 cup tapioca flour (also known as tapioca starch)
1/4 cup white rice flour
½ teaspoon kosher salt
¼ teaspoon xanthan gum
2 tablespoons vegetable oil
2/3 cup boiled water
Cornstarch or tapioca starch for rolling
Put the filling ingredients in a bowl. Mix well with a wooden spoon. Mix briskly in one direction for 20 seconds. Mix another 20 seconds in the other direction. Set aside.
Mix dry ingredients (flours, salt and gum). Add oil. Add hot water slowly. Mix with a spatula. Once the water has cooled slightly, use your hands to bring the dough together. Knead on the counter until it is smooth. It should feel like playdough. If it’s sticky, add more tapioca flour until it’s tacky. If it’s too dry, add a few dashes of water.
Roll into a log. Divide in 2. Keep one piece under a towel or in a plastic bag. Cut each piece into 12 (cut the piece you have in half, then in half and then in 3). Roll each with your hands into a flat pancake.
I usually use a piece of wax paper so that the dough does not stick to the press. Sprinkle some cornstarch on either side of the dough, place the dough on the wax paper, fold the wax paper over, and then use the tortilla press to flatten out the dough. You can also roll between plastic until very thin. Place on plate or cutting board. Roll out 6 at a time.
Place the wrapper in your hand. Place 2 teaspoons filling in the middle. Wet the edges of one side of the pot sticker. Fold over, pressing out any air, and seal. Place on a plate. The water is helpful if the dough starts to break. You can use it to fix any cracks.
When 12 are done, heat pan with 1 tablespoon of oil. Heat to medium. Place flat side down and cook for 2 minutes until lightly browned. Carefully add ¼ cup of water, cover, lower the heat slightly, and cook 8 minutes. Remove cover and cook another 2-3 minutes until bottom is completely browned. Repeat with the second batch.
If you have leftover meat, roll into little meatballs and cook in a non-stick pan until brown on each side and cooked through.


THis looks fantastic, Amy! Thanks so much for sharing!
Thanks Michele and great to hear from you. I was amazed at how much the children liked the filling! I’m going to have to make a batch with shrimp.