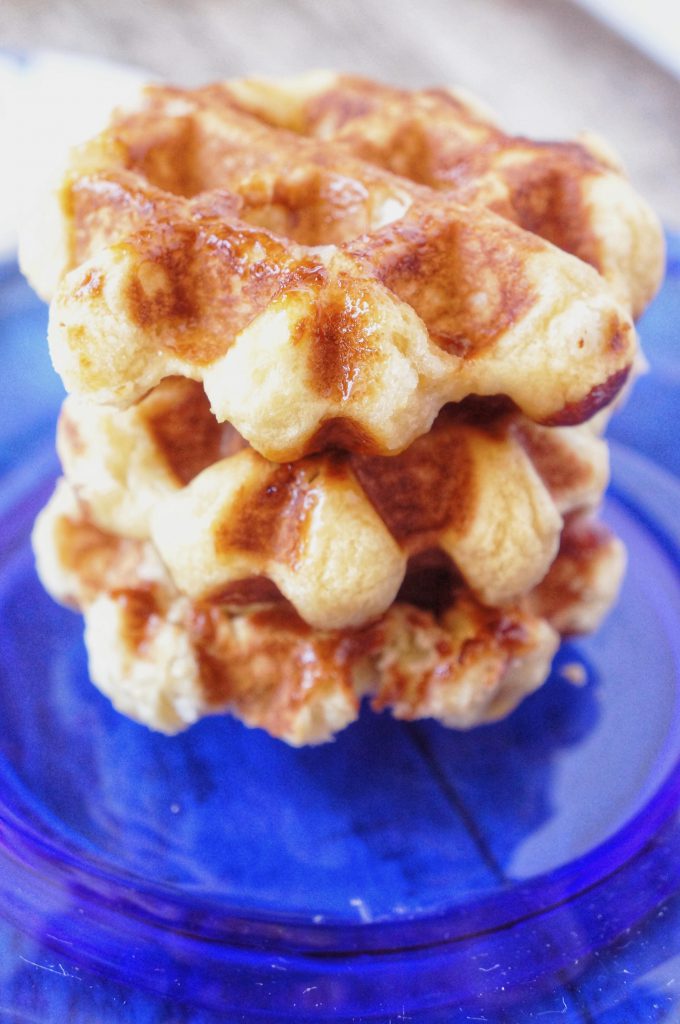
I don’t know about you but when I smell Belgium waffles at those kiosks, I really wish I could eat gluten. Last year I vowed to find a gluten free Belgium waffle replacement and I must say, I nailed it. I have made it two ways; with the caramelized sugar and without. Both are still delicious and my children are very appreciative of the effort I have made (read: this is not a quick recipe but worth the wait).
This post has affiliate links; there is no cost to you. If you use the link I will receive a small amount from Amazon because I have recommended a product to you. This helps pay for this blog. Thank you!
This New Year’s day, I thought it would be fun to make them as a treat. The crowd (both gluten-free and not) agreed it was a winner. Read through the recipe and make sure you have about 45 minutes before you want to eat these delicious waffles. The yeast gives it a unique flavor that is much better than a regular waffle. You really can’t compare one to the other.
Note: for a “with dairy” version, use 1/2 cup of unsalted butter instead of the shortening and 1 cup of whole milk instead of 7/8 cup milk substitute and 1/8 cup vegetable oil.
With this recipe, mis en place (everything in its place) is very important. For example, make sure the shortening is cooled slightly and that the eggs are already separated. If you add hot shortening into the batter, it might “cook” the egg yolks. Adding oil to the milk substitute helps to replicate the fat from the whole milk in the original recipe. As always, enjoy! And this is the waffle maker I use to make my gluten-free Belgium waffle.
Gluten-free Dairy-Free Belgium Waffles
Makes 8 waffles in a 6″ waffle maker or about 8 squares (2 large waffles) in a square waffle maker
2 ¼ teaspoons active dry yeast
3/4 c warm water (105F-115F)
1 teaspoon white sugar
3 cups Amy’s Gluten-free Flour Blend
1/2 teaspoon salt
1 teaspoon xanthan gum
4 ounces (1/2 cup) non-hydrogenated vegetable shortening, melted and cooled slightly
7/8 cup milk substitute at room temperature
1/8 cup vegetable oil (canola, sunflower or safflower)
1 teaspoon pure vanilla extract
1/4 cup sugar
2 large eggs, at room temperature, separated (separate first, then let come to room temperature)
1 cup pearl sugar
1. In a glass measuring cup, dissolve the yeast in the water and sugar to proof it. Set aside. After 5 minutes, it should be foamy and fragrant.
2. In a small bowl, mix the flour blend, salt and xanthan gum. Set aside.
3. In a large bowl, add the yeast mixture, melted shortening, milk substitute, oil, vanilla, sugar, and egg yolks and whisk until smooth. Add the flour mixture and mix until combined
4. In a medium bowl, beat the egg whites until soft peaks form; when you pull the beaters out of the bowl, the peaks should fall over softly. With a rubber spatula, fold them into the batter and let stand for 20 minutes.
5. Turn the waffle maker on after 10 minutes so it is hot when the batter is ready.
6. In this next step, you need to act quickly so you don’t burn the sugar or the waffle. If you are not using the sugar, you can disregard this. Place about ½ tablespoon of sugar on each part of the waffle iron first. Scoop about 2-3 ounces of batter on top of the sugar.
Note: I used a 2 ounce hinged scooper and no sugar in this picture. When you use a round waffle iron as opposed to a square one, you will use less batter and have a bigger yield.
Top with another ½ tablespoon of sugar on each part. Close the waffle iron and cook until the waffles are golden, following manufacturer’s directions. Repeat with the remaining batter.


No comments yet.